Light and Magic: Mastering Light in Photography for Stunning Shots

Whether you are a landscape or portrait photographer, light is the most important aspect of photography. No matter what camera or composition you use, you must understand how to control and use light effectively because it can significantly improve the quality of your photographs. In this article, we will learn some basic lighting techniques together that will help you create great photos.
Natural Light: A Photographer’s Greatest Asset Natural light is often the preferred lighting source for many photographers because of its availability and versatility. However, we must know how to use natural light to create beautiful photos. This natural light itself changes all the time, so we have to find the right time.
Usually, the best time to shoot in the natural light is during the “golden hour” (after sunrise or before sunset). Why? Because at this time the sunlight produces soft, warm light that can produce long shadows and create a pleasing light. These times are perfect for portrait photography because the soft light can enhance skin tones and minimize harsh shadows. This time is also a great time for landscape photography because you can use this light to enhance the color and depth of the scene.
On the other hand, the harsh, direct light of midday can make shooting more challenging. However, midday sunlight can produce high-contrast photos that are great for street photography or architectural shots, where sharp shadows and highlights can enhance the geometric patterns of buildings.
Artificial Light: Mastering Studio Lighting and Flash
We can’t deny that sunlight is a great light to photograph with, but photographers often prefer artificial light sources that give them more room to manipulate it. Studio lights, flashes, and LED panels are common types of artificial lighting used in studios. These lights can help create uniform lighting conditions for indoor and product photography.
A three-point lighting system is a popular setup in studio photography that includes three lights: a key light, a fill light, and a backlight. As the name implies, a key light is the primary light source positioned at an angle to create depth and shadows on the photograph’s subject. A fill light is useful for softening shadows cast by a key light. And last, a backlight is useful for separating the subject from the background while also adding depth to the photograph.
Lighting modifiers, such as softboxes and umbrellas, are also commonly used in studio photography because they can help spread light, reduce shadows, and create a softer and more charming look. Of course, this will be extremely useful, especially for portrait photography, as it can make skin appear smoother and more radiant.
Shaping Your Shot with Lighting Direction
The direction in which the light hits your subject has a significant impact on the final result of your photo. It determines how much depth, contrast, and mood your photo will convey. In photography, there are three main types of lighting direction: front lighting, side lighting, and backlighting.
– Front Lighting Front lighting occurs when the light is in front of your subject. It’s useful for portraits that highlight facial features without dramatic shadows. It reduces shadows and gives your photo a very soft, flat (two-dimensional) look.
– Side Lighting Side lighting occurs when the light is on the side (left or right) of the subject. With this lighting, the resulting photo will have dimensions because the light will illuminate only one side of the subject and produce shadows on the other side. This is what can create texture and contrast in the photo and make it feel more three-dimensional. This side lighting is suitable for portraits, still lifes, and nature photography because this lighting can enhance the texture and shape of the photo. In addition, this lighting method is also very effective in black and white photography because of the emphasis on contrast.
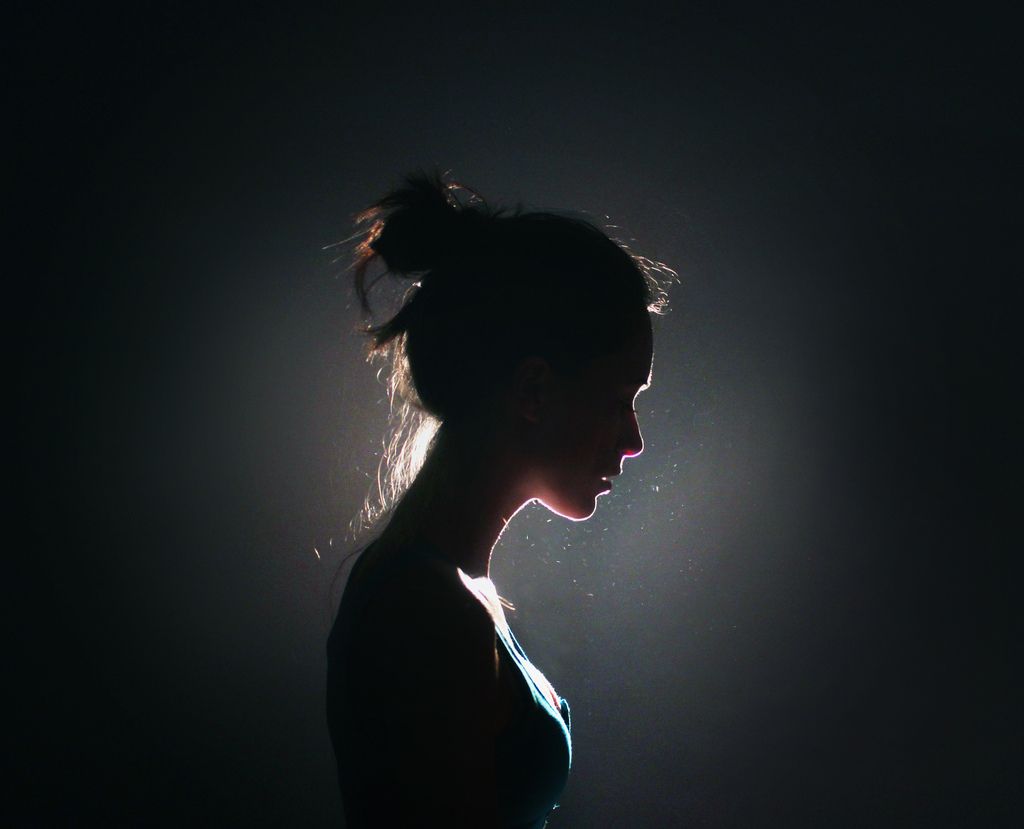
– Backlighting Backlighting happens when the light is behind the subject. This lighting gives a silhouette effect, especially when the subject is a person, tree, or animal against a bright sky background. But, backlighting has some drawbacks too, such as making the background too bright or the subject underexposed. That’s why we need to adjust the lighting settings or use fill light to compensate.
Conclusion
Mastering light is important for producing high-quality photographs. Whether you use artificial light or rely only on natural light, your ability to control light has an important effect on the outcome of your photography. The key is to experiment with various lighting methods until you find one that works best for your images, because the more you practice, the more you will learn about how light behaves, allowing you to improve the quality of your photographs.
References:
Cladera, A. (n.d.). Golden Hour Photography: The Definitive Guide. PhotoPills. https://www.photopills.com/articles/golden-hour-photography-guide#step2 Mateer, P. (2024). Beginners Guide to photography lighting techniques (+Pro Tips). Shotkit. https://shotkit.com/photography-lighting/
By Erlene Odelia – 2702223153

